|

The first thing to know about the scheduling system is that it is entirely optional. It is perfectly acceptable to create and publish service opportunities that do not have schedules. Volunteers can still sign up for them and you have now been trained on how to process their records.
However, there are some good reasons to consider scheduling in the following situations:
| 1. | You are running an event that has many volunteers doing multiple tasks simultaneously |
| 2. | You have a recurring event or training that occurs on a consistent schedule (like every other Saturday, etc.) |
| 3. | Your volunteers prefer to see their upcoming schedules on eRecruiter |
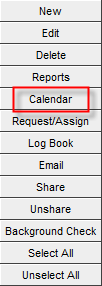
Accessing Scheduling: If any of these describe what you do, then you will need to use our scheduling system. It can be accessed from the Volunteers, Opportunities, Organizations, and Clients tabs. If you want to schedule specific volunteers or review their upcoming assignments please go to the Opportunities tab and click on Calendar. If you need to create a schedule for a specific opportunity then go to the Opportunities tab and click the same button.
The scheduling system consists of several elements which we will train you on individually, but the basic concept is that schedule slots are created for existing service opportunities and then filled with assigned volunteers. We will start by providing an orientation to the schedule system layout and will then demonstrate how to do basic tasks.
Here is how the main scheduling calendar appears by default:
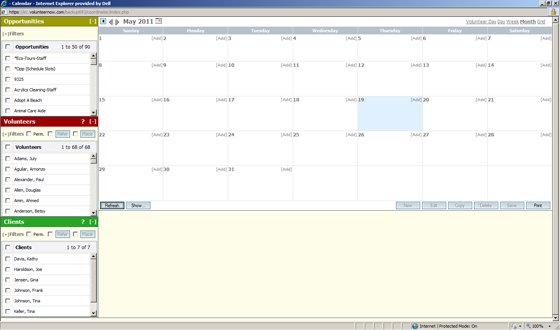
Key Elements
Now we will introduce you to the key elements of the screen:
| 1. | Opportunities view: This is where you select the opportunity for which you want to create or edit a schedule. Use the [+] Filters screen to access the pre-built opportunity searches in order to further refine the displayed list.
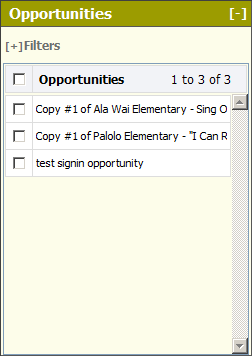 |
| 2. | Volunteers view: This allows you to select a volunteer whose schedule you would like to view or work on. By selecting both a volunteer and an opportunity, you will see when a volunteer is scheduled for that opportunity. As with the opportunities window, you can also use the [+] Filters to apply pre-built searches to see only the volunteers you want. If you want to view only certain volunteer(s), please select them on the main Volunteers tab before accessing scheduling.
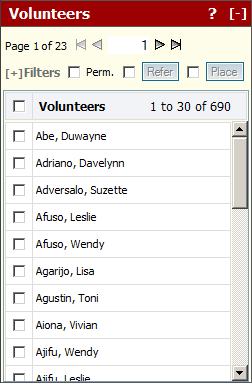
|
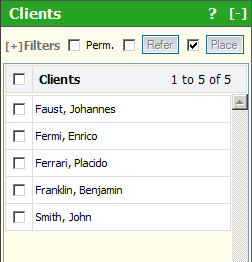
| 3. | Clients view: This is where you select the client(s) which you want to place into a schedule slot. Use the [+] Filters screen to access the pre-built client searches in order to further refine the displayed list.
 |
| 4. | Calendar view: This allows you to view schedule slots that you have previously created. Schedule creation will be demonstrated later, but below are some additional items that will help you understand the layout better.
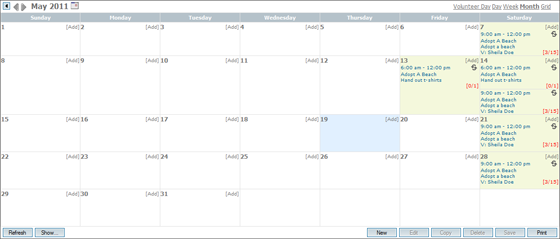 |
| • | A day has a yellow background when there is an active schedule slot (or slots) on that day. A blue background appears for whatever day you are currently working on. |
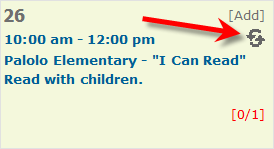
| • | Fractions: For example, you may see a "[0/1]" in the bottom right of the slot. This is interpreted that zero volunteers are currently assigned to a minimum number of one schedule slots on this day.
 |
| • | This symbol indicates that the schedule slot is one of many slots in a repeating pattern that was created.
 |
| • | When you select a slot from the calendar view, details will appear at the bottom of the screen. These will appear much like this:
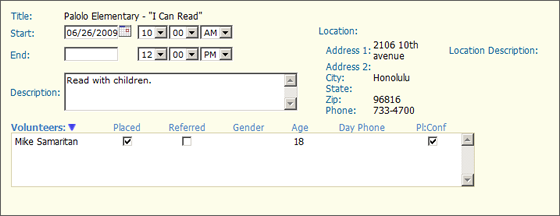 |
| • | Note that for the selected slot you can readily see who is currently scheduled for the selected slot and that there is a Conf (for Confirmed) checkbox you can use to indicate when you have verified that a volunteer will show up at the scheduled time. |
|


