|

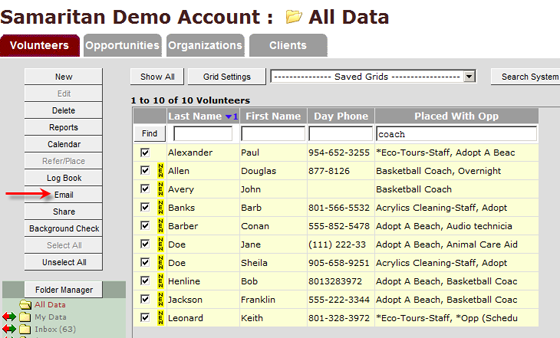
Action: Locate the "Email" button.
|
Step 1: Select email recipient(s) from the data grid.
Step 2: Click "Email" button from the menu on the left.
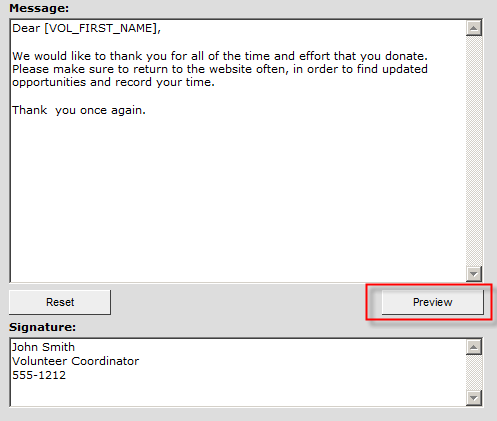
This is the main email system screen:
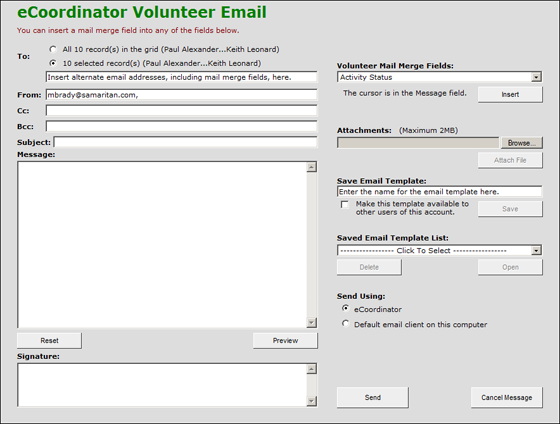
The system will save the last message sent, so when you open the email window, there may already be a message in the text box. If this happens, click the "Reset" button.
Step 3: Select whether your email message is going only to selected recipients or to everyone in the data grid.
You can enter additional email addresses in the Cc and Bcc fields. Addresses in the Cc field are visible to all recipients, addresses in the Bcc field are invisible to all recipients.
If you want to have a copy of the email you are sending, please Cc yourself. eCoordinator is not an email client software, and will therefore not retain sent messages.
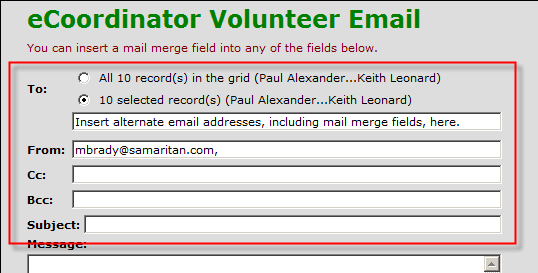
Step 4: Enter your return address and email signature information. These only need to be entered once as the system will save them for you. They can be changed at any time.
Step 5: Enter a SUBJECT for your message. This is a required field.
Additional Options:
| • | Mail Merging: You can use Volunteer Mail Merge Fields to personalize your message. There are several mail merge fields available, simply use the pull-down menu to insert the field into the text area of your message where appropriate.
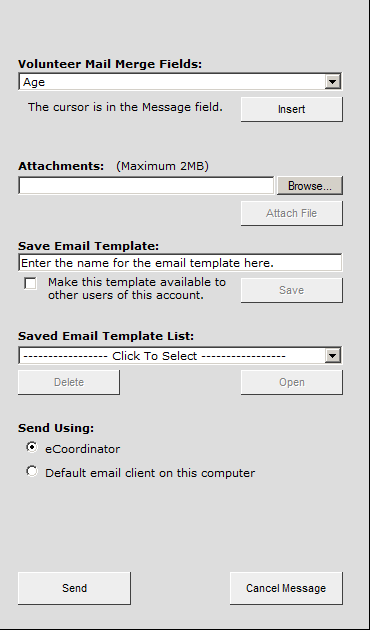 |
| • | Attachments: The email system also allows you to attach files (up to 2MiB) to your email message. To attach a file, click the "Browse" button under the attachment header, and an Explorer window will open on your computer. Double-click the desired file to attach it to the email message.
Please note, however, that many receiving email systems will block any email that has attachments. We recommend that you upload any files to a separate server and insert the associated hyperlink in to the email in eCoordinator. To learn more how to do this, see Formating & Hyperlinks instructions later in this training section. |
| • | Templates: If you intend to use this message again, you can save it as an email template. Templates help save time by automating processes that you repeat often. Saving your message as a template will enable you to send the same message to additional recipients at another time by selecting those recipients and then selecting the message from the "Saved Email Template List."
When saving your template, you can opt to make it available to other users of this eCoordinator account or save it to your personal data by using the check box.
You can also clean up your template list by deleting any you no longer need.
|
| • | Previews: You can click the "Preview" button to see how your message will appear to your recipients.
|
| • | Formatting & Hyperlinks:
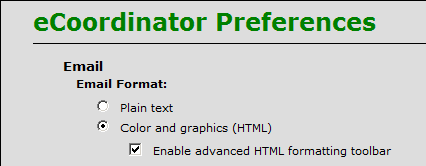
You can format your email and add text by turning on the advanced HTML formatting option. To do this go to:
Menu bar> Tools> Preferences
Select "Color and graphics (HTML)" radio button
Select Enable advanced HTML formatting toolbar
When you return to the email screen (it must re-load) then you will see the toolbar:
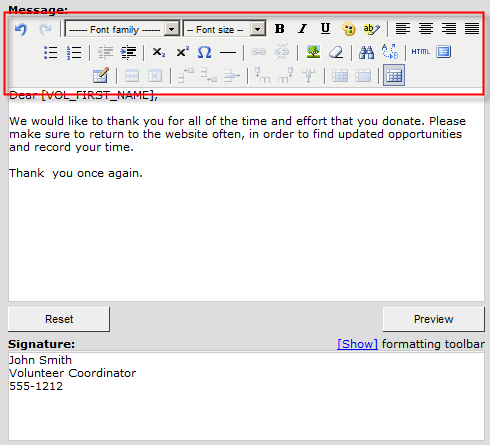
To create a hyperlink, highlight the word you wish to build a link for and click the universal icon for hyperlinks (the chain link, as shown).

This screen will appear:
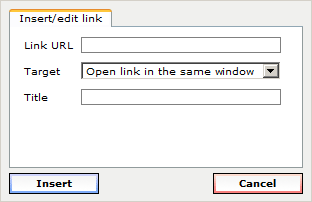
Enter the location (URL) of the file you wish volunteers to download when they click the hyperlink youre creating.
The safest way to assure the link will work is to test it in a browser window and then paste it directly in to this screen. |
PLEASE DO NOT ACTUALLY SEND YOUR EMAIL DURING TRAINING!!
Once you send your message, you will see a confirmation screen telling you how many emails were sent and to what addresses. Any errors encountered (missing addresses, incorrect addresses, etc.) will also be shown.
Click "OK" to close the report window.
| 

